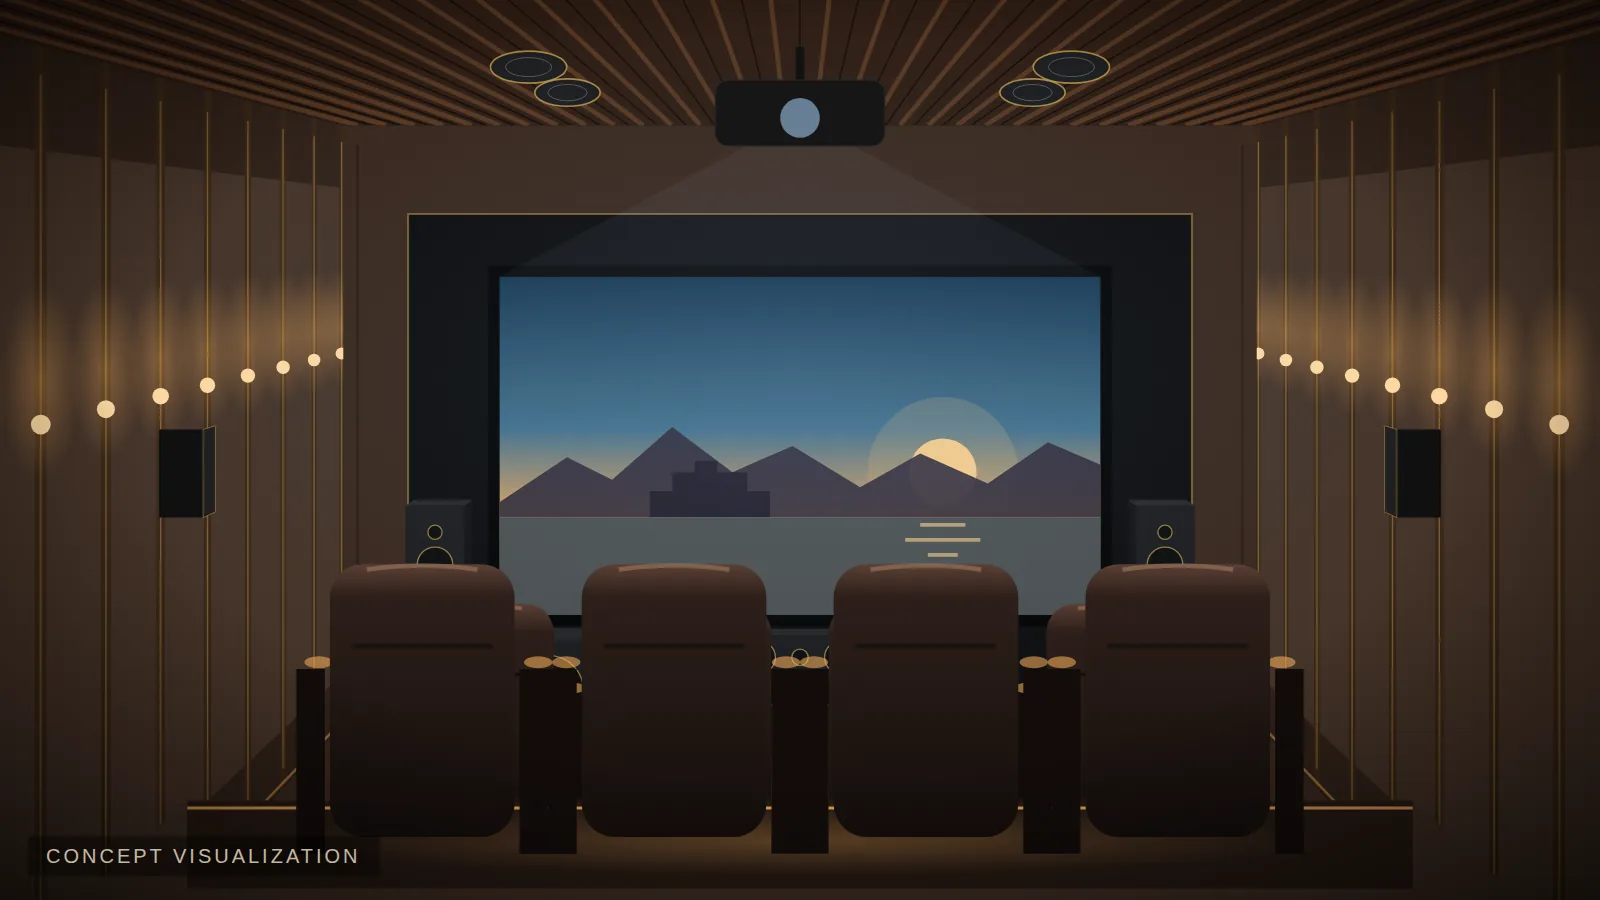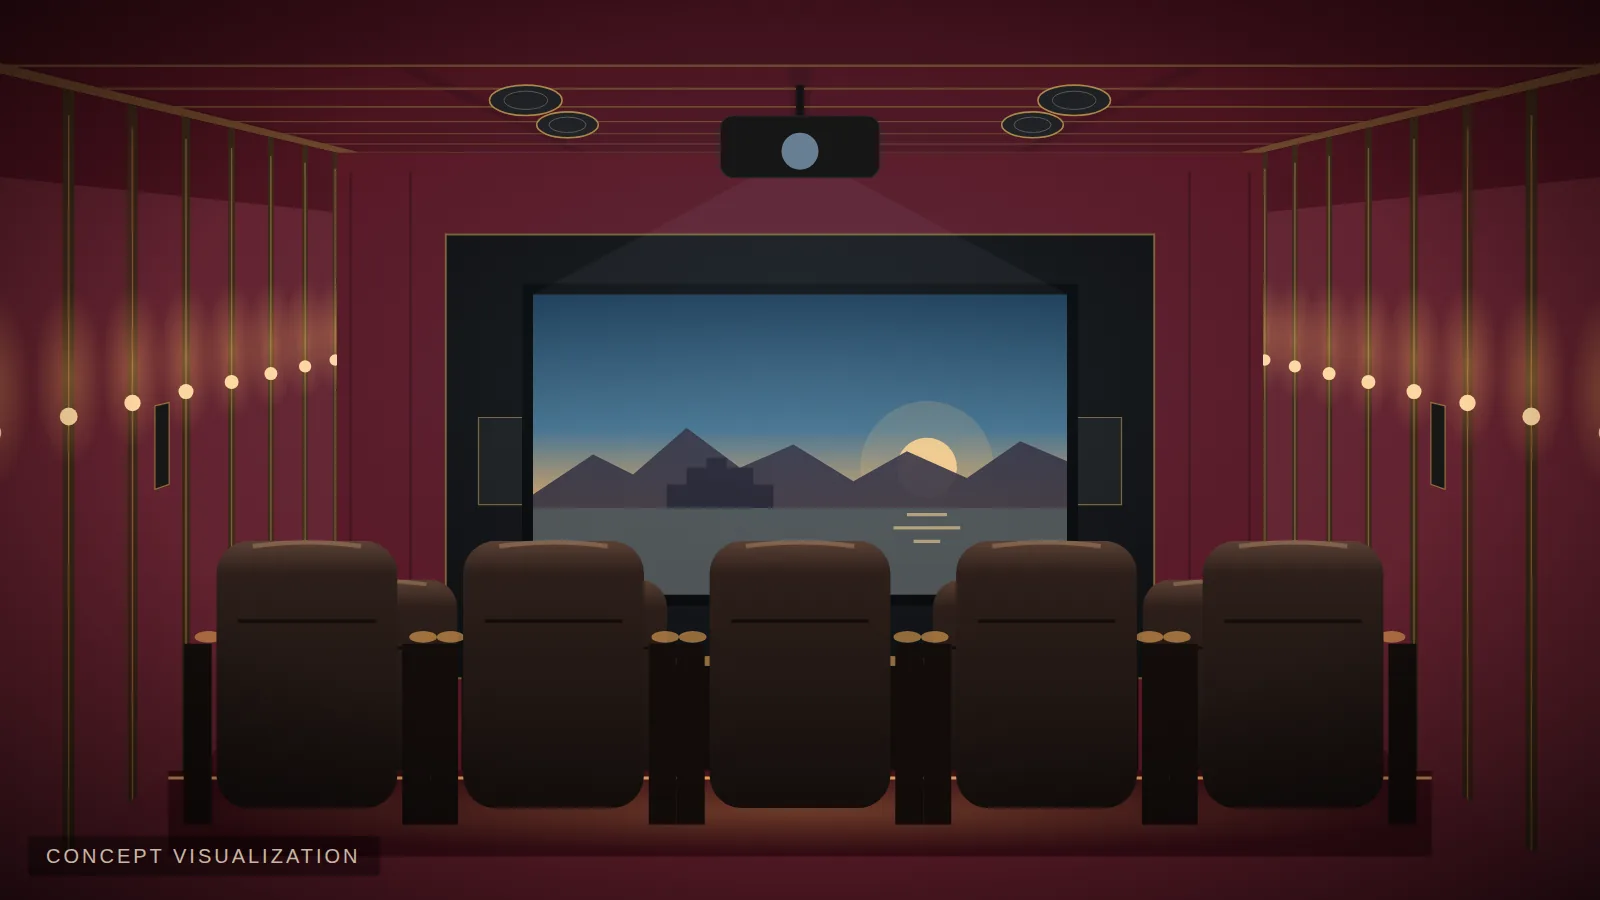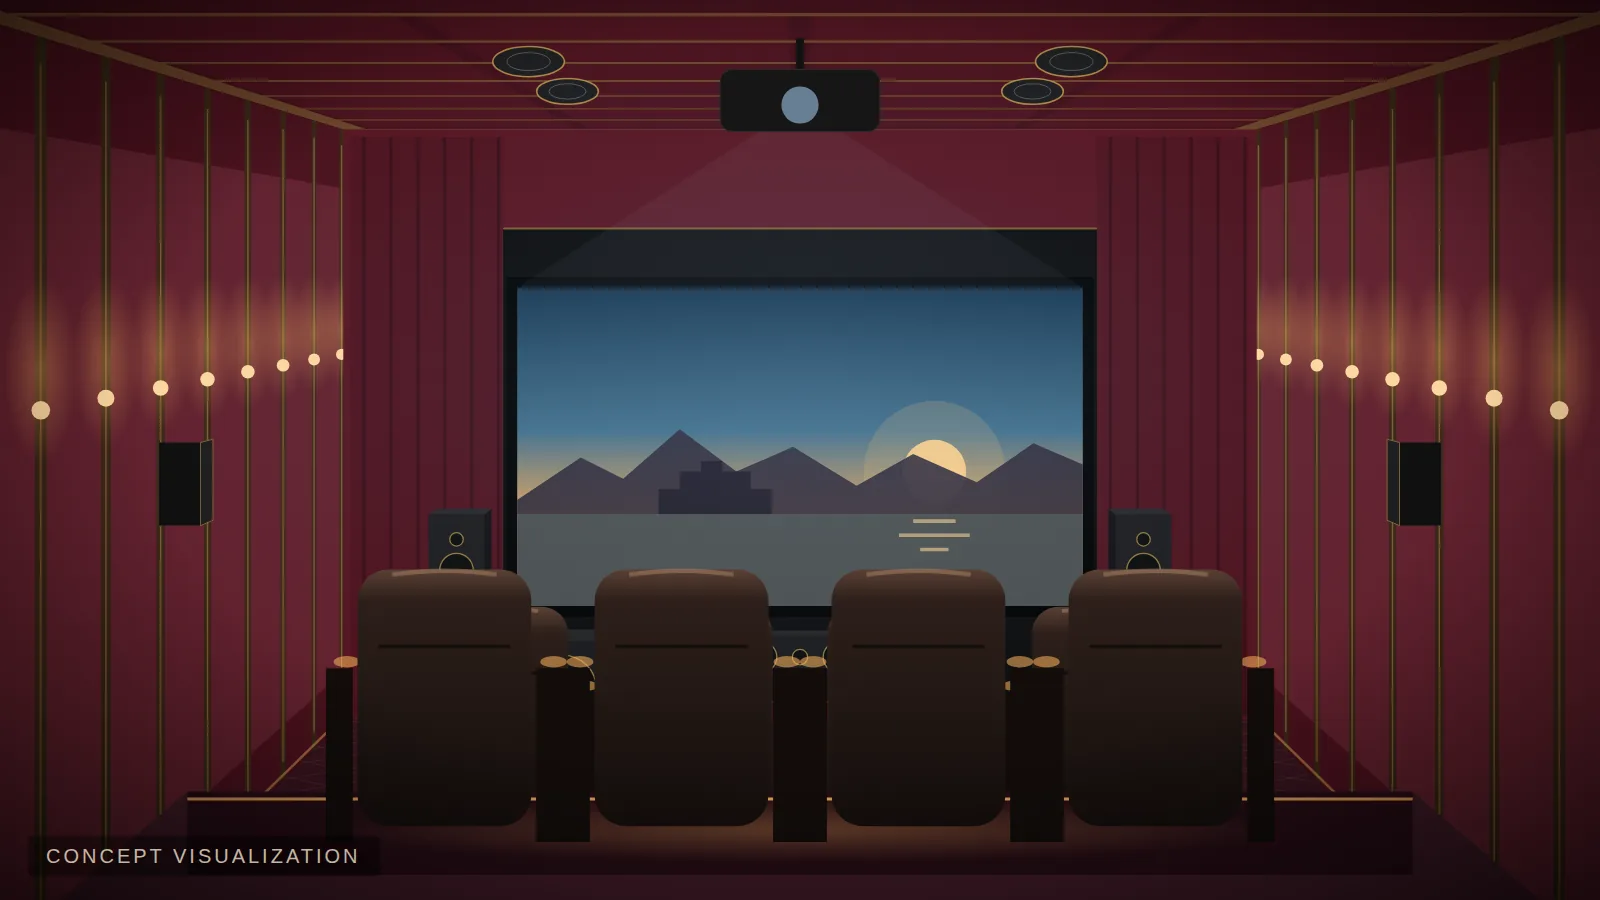
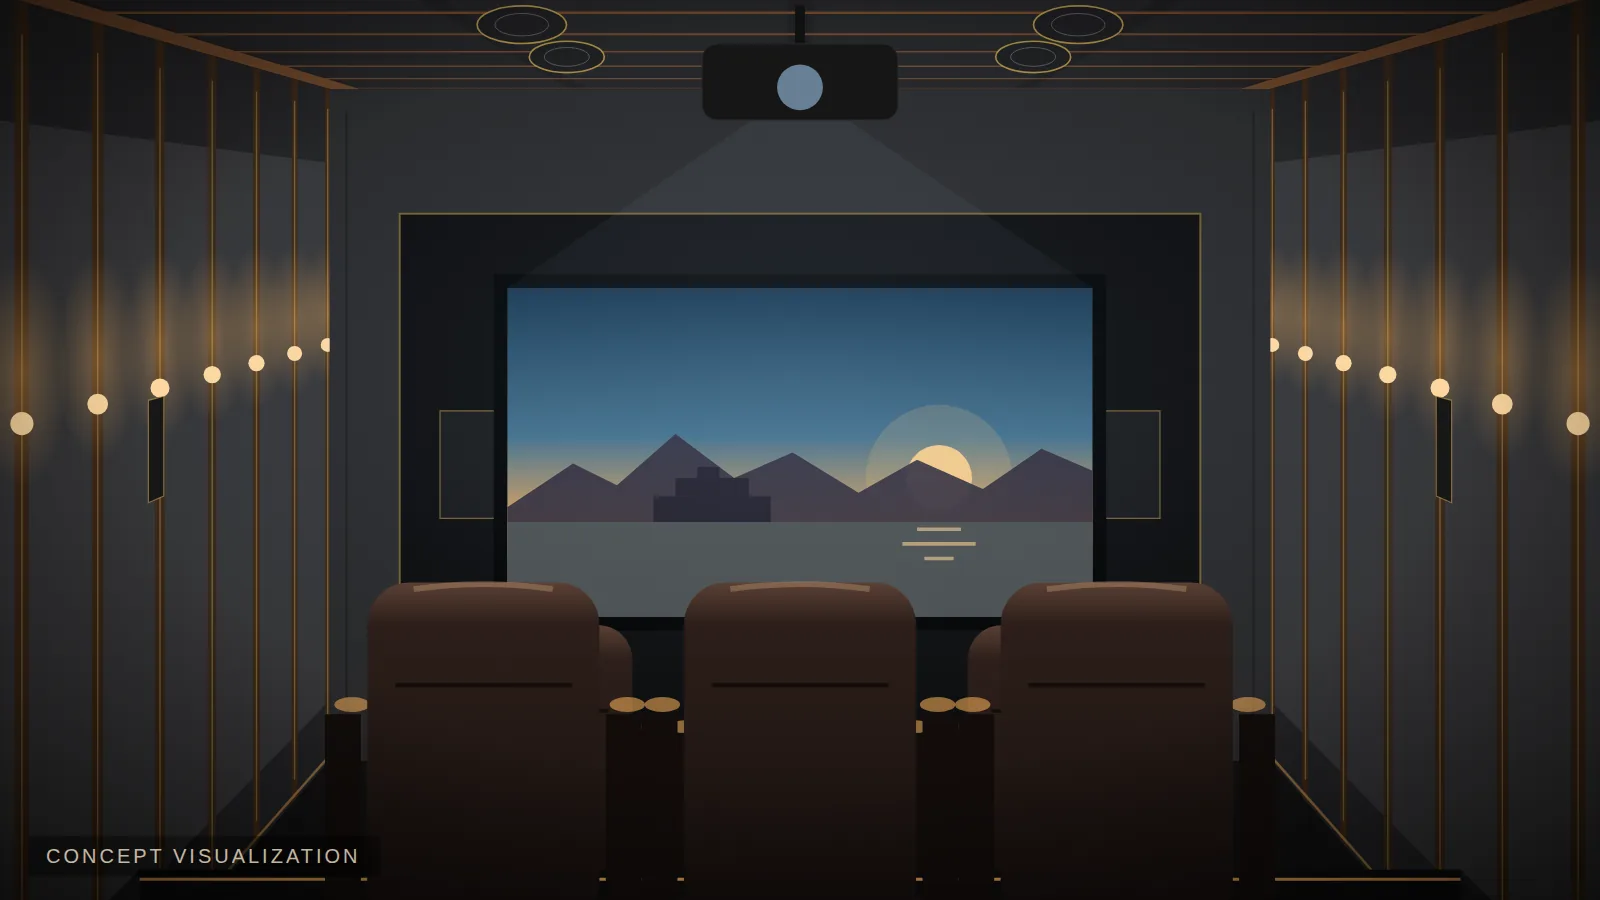
 Concept visualization
Designing a home theater room is about making five things work together: the room, the sound, the picture, the seating and the atmosphere. Here is the process we follow at EVORA for homes in Udaipur and across Rajasthan.
Step 1: Choose the right room
- Rectangular rooms are easier to design than square ones — square rooms create uneven bass.
- Fewer windows and doors mean better light control and isolation.
- Location matters: avoid sharing a wall with bedrooms if you want to watch late at night — or plan soundproofing.
- Ceiling height of 9 ft or more helps with risers, projector placement and height speakers.
Not sure what fits? Try the Room Planner.
Step 2: Plan the seating first
Seating decides screen size and speaker positions. The main seat is often placed around 60–65% of the room length from the screen (about 38% from the rear wall), which tends to give smoother bass. Recliners need roughly 5.5–6 ft per row and about 3 ft width per seat. A second row needs a riser. See how many recliners fit.
Step 3: Size the screen for the seats
An immersive, comfortable screen fills roughly 30–40° of your field of view from the main seat. For a main seat about 12 ft from the screen, that's around 100–120 inches (16:9). More in best projector screen size.
Step 4: Choose the speaker layout
Match the layout to the room: 5.1 or 5.1.2 for compact rooms, 5.1.4 to 7.1.4 for dedicated cinemas, 9.1.4 for large rooms. Decide between in-wall and floor-standing speakers based on look and performance.
Step 5: Design the acoustics
Plan absorption at first reflection points, treatment on the front and rear walls, bass traps and an acoustic ceiling. Hard Udaipur floors (marble, Kota stone) make this step essential. Read Do you need acoustic treatment?
Step 6: Light, colour and finishes
Dark, matte surfaces around the screen improve contrast. Plan layered lighting — step lights, wall sconces, cove lights — on dimmers or scenes. See home theater lighting design.
Step 7: Power, cooling and wiring
Dedicated circuits, surge protection, conduits for future upgrades, a ventilated equipment rack and quiet AC. Plan them before plaster and false ceiling.
Step 8: Install and calibrate
Calibration — speaker levels, distances, subwoofer integration and picture settings — is where a good system becomes a great one.
Want to try these decisions visually? The Cinema Designer walks you through room, colours, speakers, acoustics, ceiling, audio, seating and carpet — with a live concept.
Plan your cinema with EVORA
See what fits your room in minutes — screen size, seating, speaker layout, acoustics and a preliminary budget.